Quick installation
You have probably received an e-mail from your Focalist administrator telling you where to download the agent installation package and the unique code to use.
Click on the Download for Windows link.
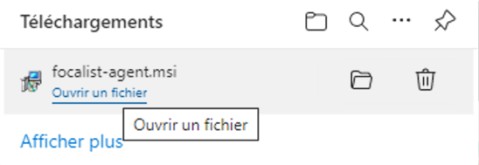
Locate where the installation file (focalist-agent.msi) has been downloaded. Start the installation by double-clicking Open file:
The agent installation starts: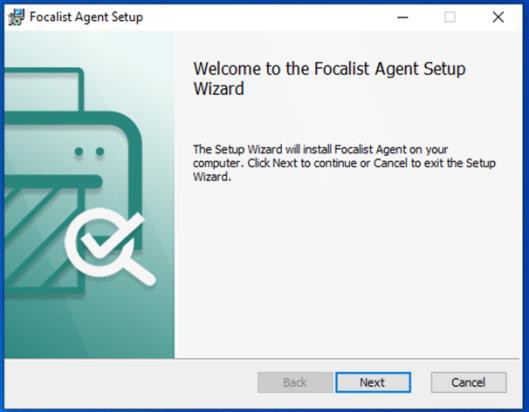
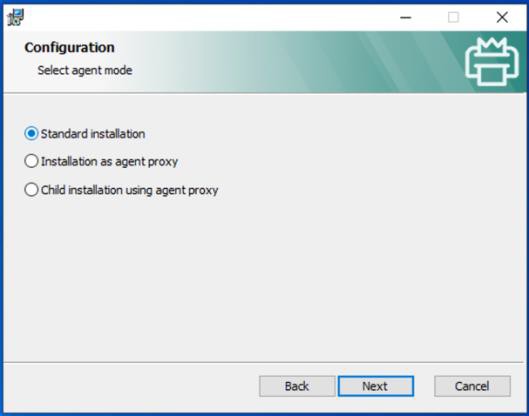
Click Next to move on to the next step, in which you select the first option
Standard Installation for a conventional installation, then click Next:
In the next step, enter the unique code you received by e-mail in the Key field: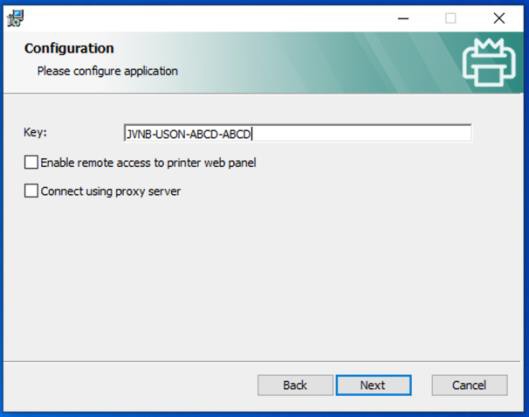
Leave the options unchecked and click Next. The installation is ready to start and requires administrator rights on the workstation: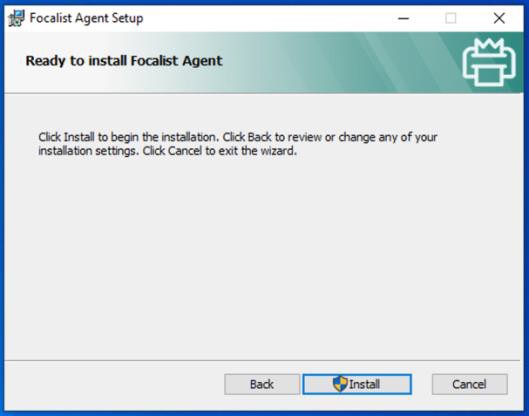
Click Install. If you do not have sufficient rights, you will be asked for the administration password. A confirmation message will be displayed by the system: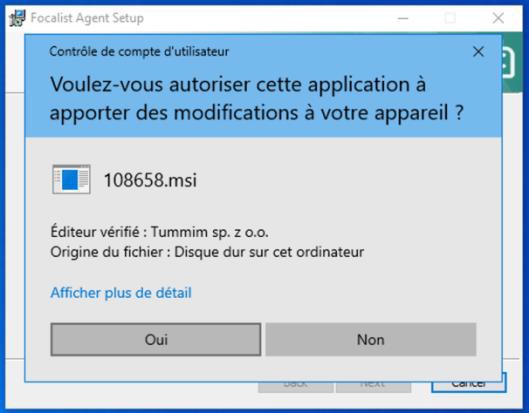
Click on Yes. The installation utility will then copy the files, configure the agent and start the service:
The installation ends with the following message: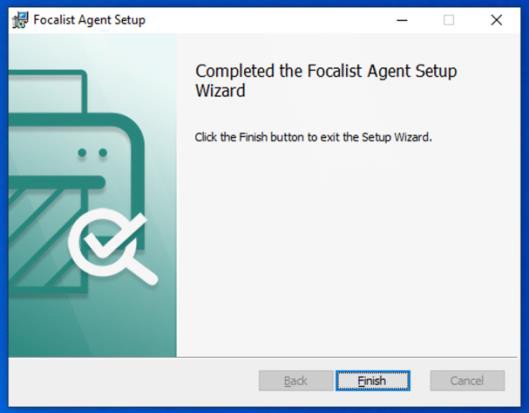
On the portal, you can see that the agent has changed its status to Connected with the IP address of the workstation on which it is installed: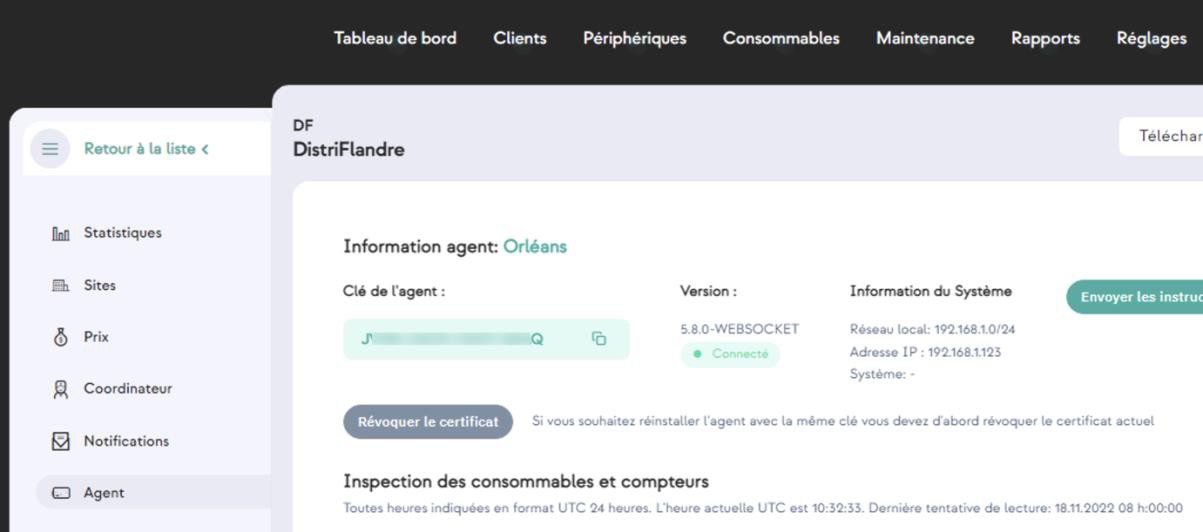
Congratulations! You have now completed the quick install procedure.
If the installation does not end with a successful message, or if the agent remains in New status, contact your Focalist administrator or consult the Troubleshooting chapter.